
One of the most enjoyable parts of using a desktop 3D printer is the ability to make your own unique designs come to life in just a few hours.
Formlabs’ Flexible Resin produces smooth surfaces and compressible parts that are perfect for custom stamp-making.
Follow our seven easy steps to design and create a one-of-a-kind 3D printed stamp.

Book a Consultation
Get in touch with our 3D printing experts for a 1:1 consultation to find the right solution for your business, receive ROI analyses, test prints, and more.
Request a Free Sample Part
See and feel Formlabs quality firsthand. We’ll ship a free 3D printed sample part to your office.
What You'll Need
The following items are needed to create custom, 3D printed stamps:
- Formlabs (SLA) resin 3D printer
- Formlabs Flexible Resin
- Formlabs Standard Resin, any color
- Adobe Illustrator, Inkscape, or other vector graphics software
- Blender or other 3D modeling software
1. Draw your design in a vector file
Once you have a design in mind, draw it out in a vector graphics software, such as Adobe Illustrator or a free program like Inkscape. Save it as a Scalable Vector Graphic (.SVG) file, which is compatible with most CAD programs.
Make sure the design is mirrored so that the stamp itself is the reverse of what will appear on a stamped surface.
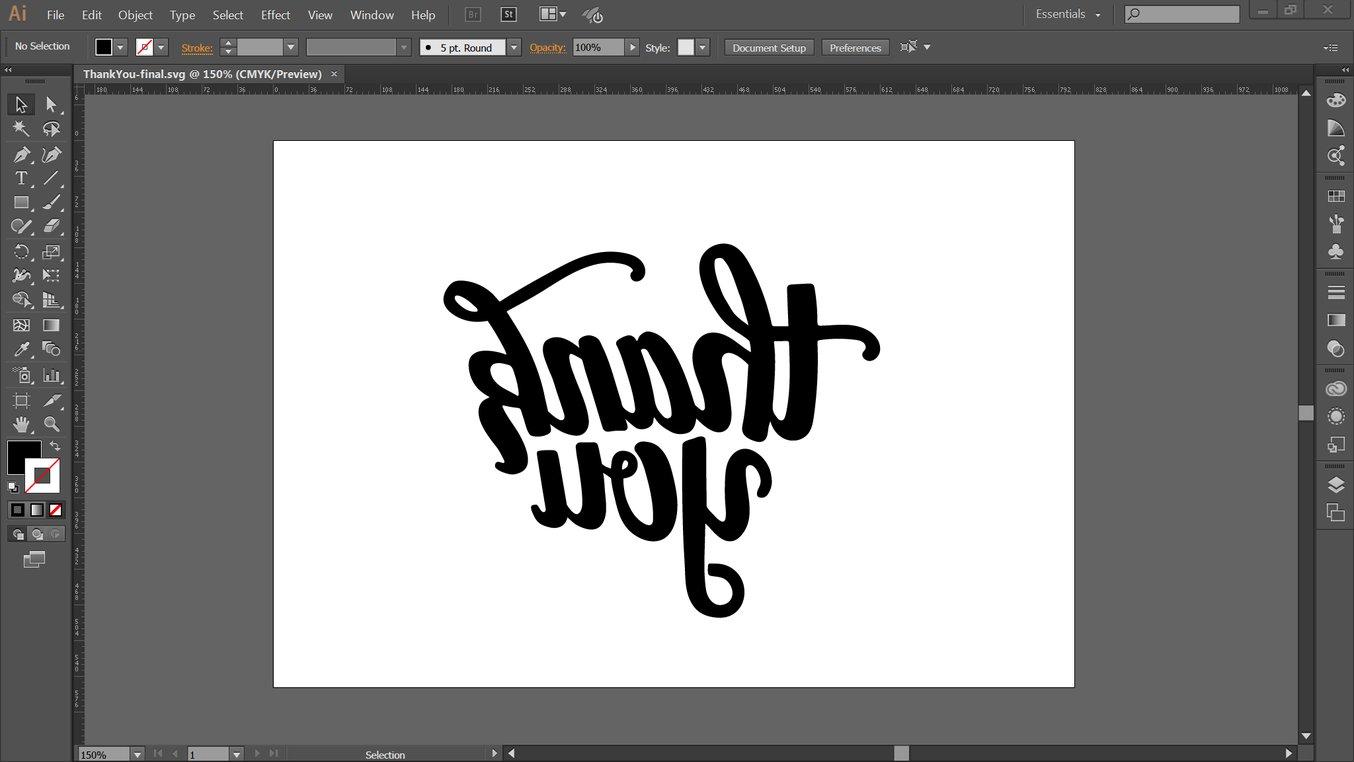
Design the stamp as a vector graphic, making sure to mirror the final stamped image.
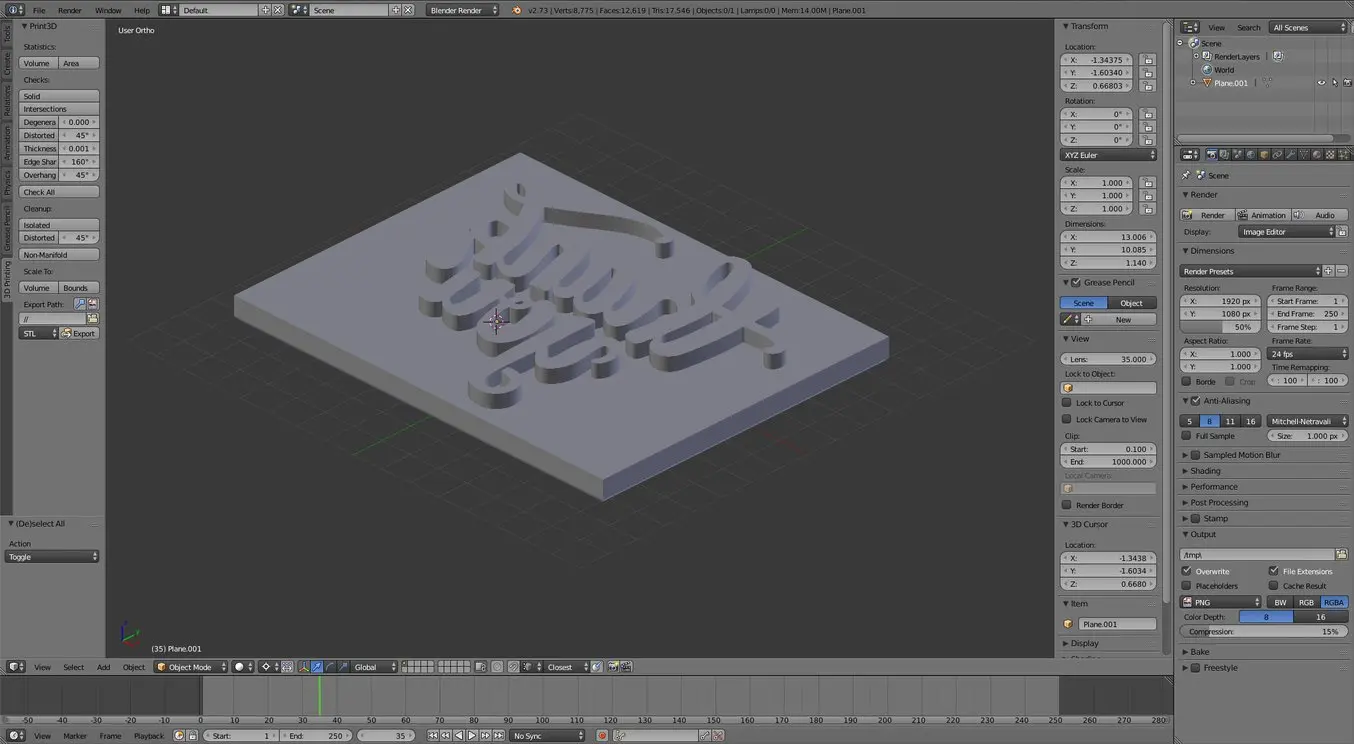
2. Convert the vector design into a 3D model
Converting a vector file into a 3D printable model is straightforward in most CAD programs. For this step, we used Blender, a free 3D modeling software. In Blender, import your two-dimensional .SVG file and convert it from a curve to a mesh (Alt+C). Switch into Edit Mode (Tab) and use Extrude (E) to turn it into a three-dimensional shape.

Extrude the design to make a three-dimensional shape.
3. Add a backing plate
In Blender, still in Edit Mode, add a rectangular mesh (Shift+A) and use Extrude (E) again to make it three-dimensional.
A backing plate will make the final print sturdy.
4. Export as an .STL and open in PreForm
Export the custom stamp 3D model as an .STL file and open in Formlabs’ PreForm software. Set up the stamp to print with Formlabs flexible 3D printing resin with a layer height of 100 microns. 3D print your stamp directly on the build platform.
Make sure the stamp is the size you want. The stamp used in this tutorial is 65 x 50 mm, or approximately 2 ½ x 2 in. If your Blender model is too small or too large, use the Size tool in PreForm to make adjustments.
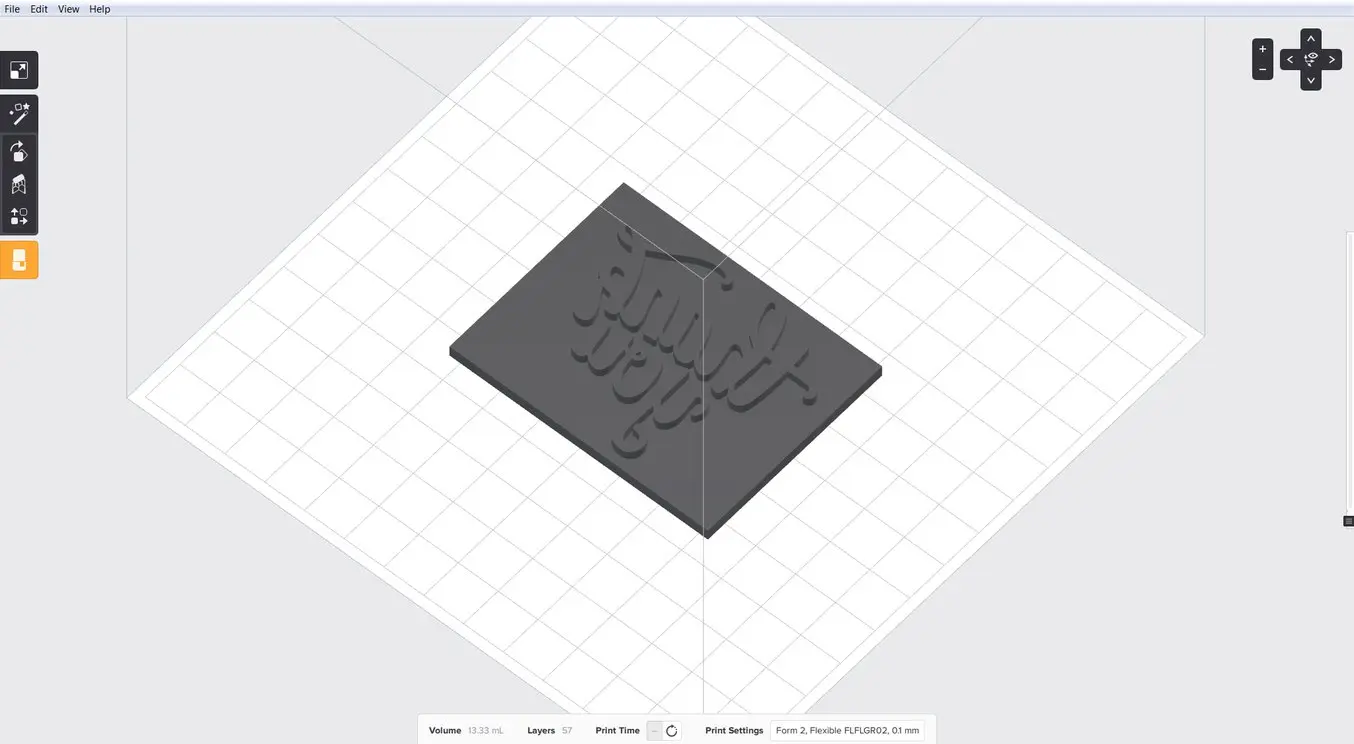
Prepare the stamp for printing in PreForm. Learn more about Flexible Resin.
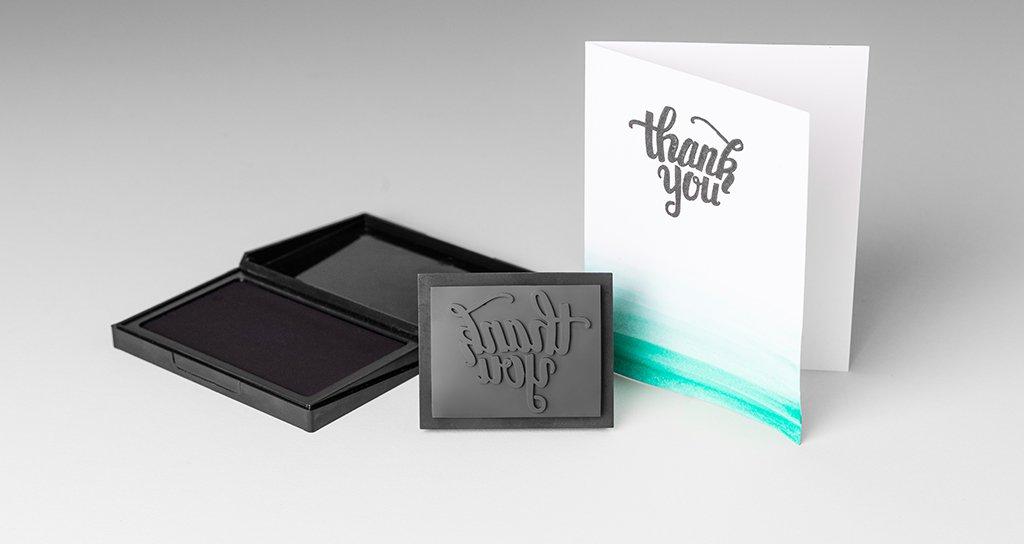
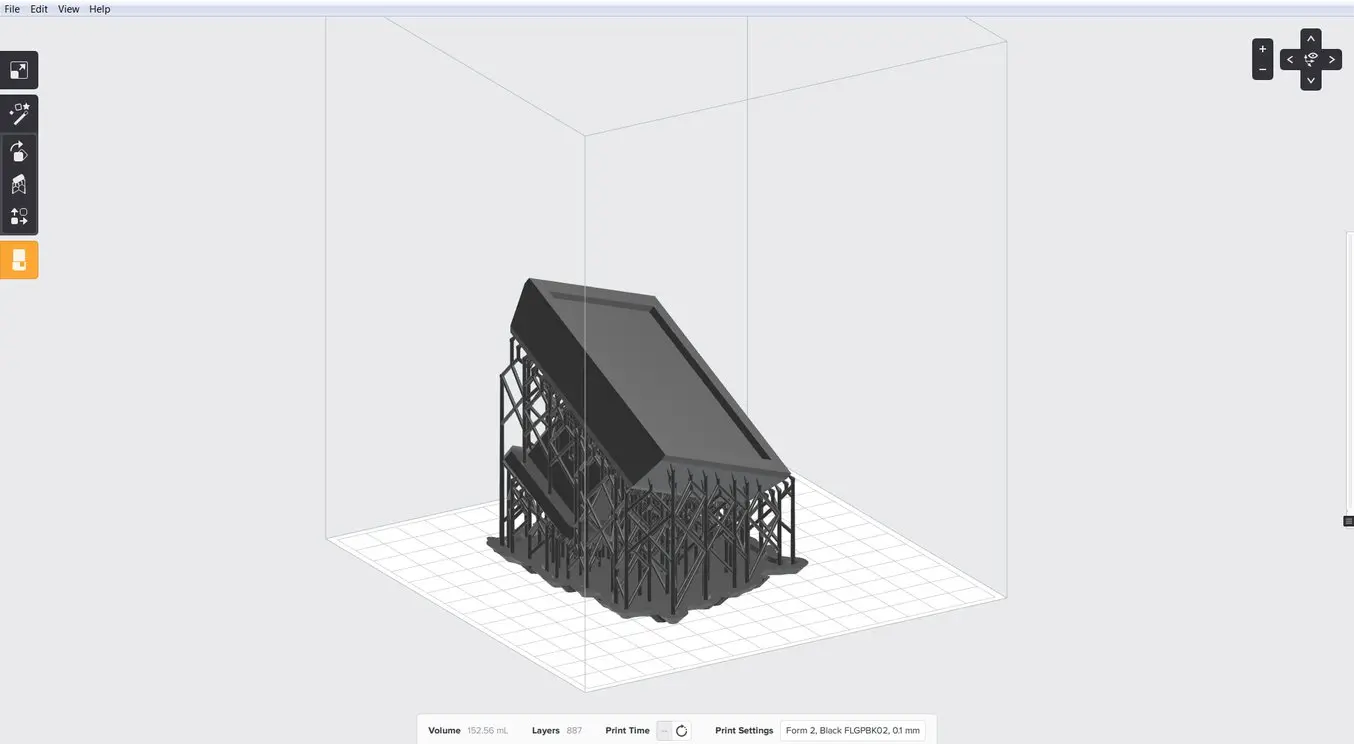
5. Print the stamp
Press print! The stamp used in this tutorial took 4 hours and 15 minutes to print.
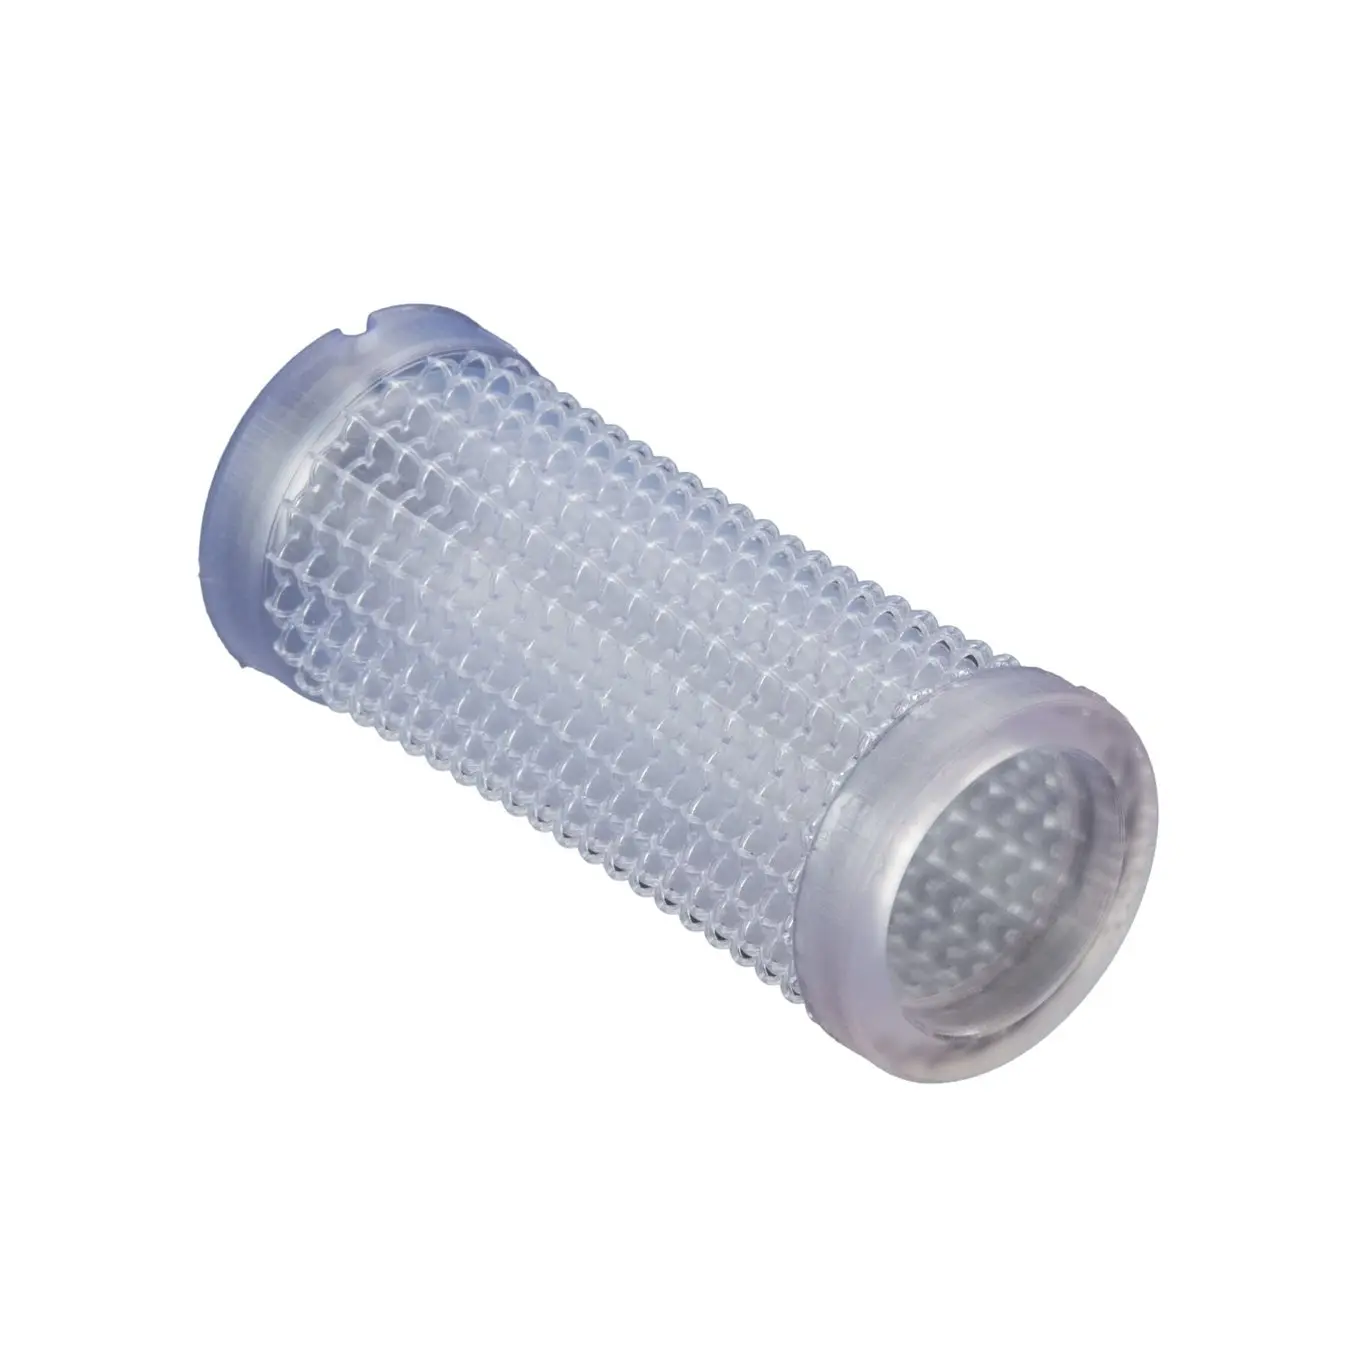
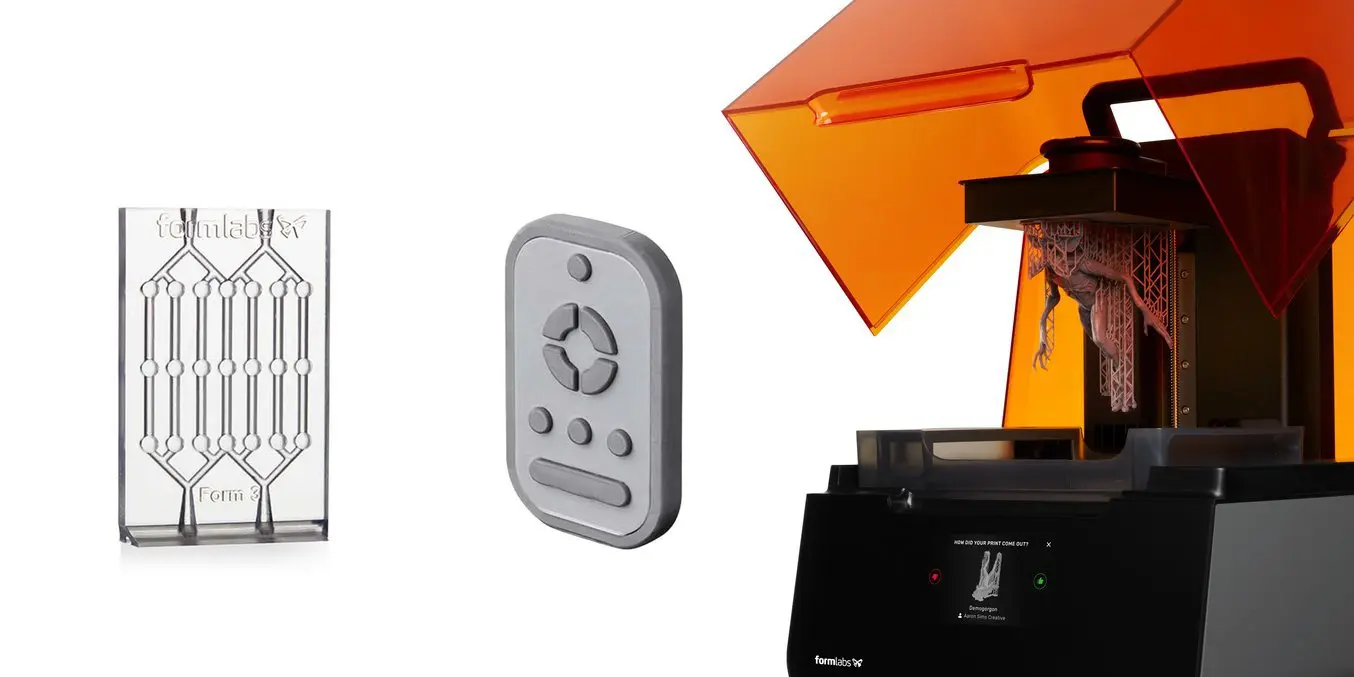
6. Print a stamp handle
Model your own stamp handle or use the one from this tutorial, which you can find on Pinshape. It fits the corresponding stamp snugly, without glue.
This handle fits the stamp on Formlabs’ Pinshape page snugly, without glue.
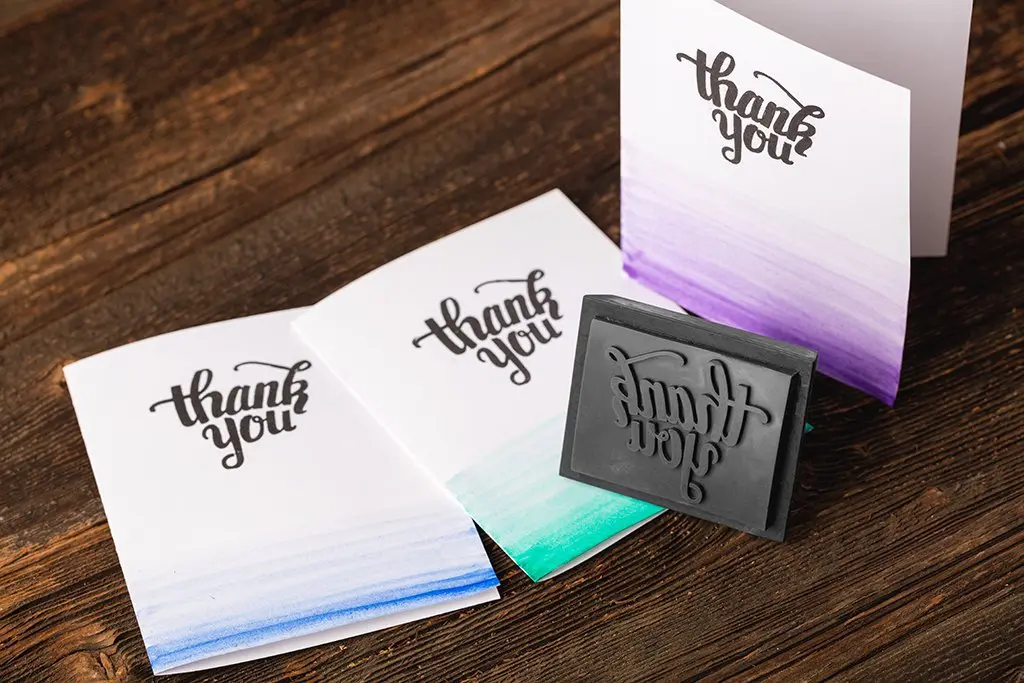
7. Start Stamping!
Ready to make your own? Check out Formlabs’ Pinshape page to download the stamp and handle from this tutorial, or look at some of these other designs for inspiration.
Not sure which 3D printing solution fits your business best? Book a 1:1 consultation to compare options, evaluate ROI, try out test prints, and more.